


The easiest way to install WordPress is to use Softaculous. Softaculous is an installation application that is free with select FastyCloud subscriptions. You can also manually install WordPress using the steps below. The installation process includes downloading the WordPress files, creating a database, and configuring the installation. In this tutorial, we’ll walk you through each of these steps.
If you have a Reseller, VPS or Dedicated server account, then you may need to purchase Softaculous. Check out How to Purchase a Softaculous License in FastyCloud for more details.
Uploading the WordPress files
- First, you’ll have to download the latest version of WordPress.
- Extract the files in the ZIP file you downloaded to your local computer.
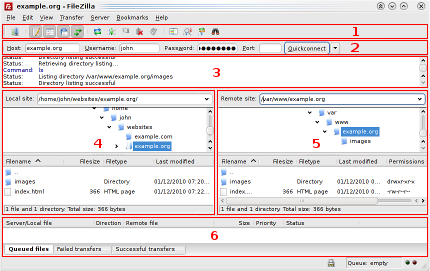
- Use an FTP Program to upload the files to your account. The client we’re using in the screenshot below is called FileZilla. If this is your primary domain, you’ll want to upload the files to the public_html folder. Be sure to upload the contents of the WordPress folder and NOT the folder itself.
Create a Database for WordPress
- Login to your cPanel.
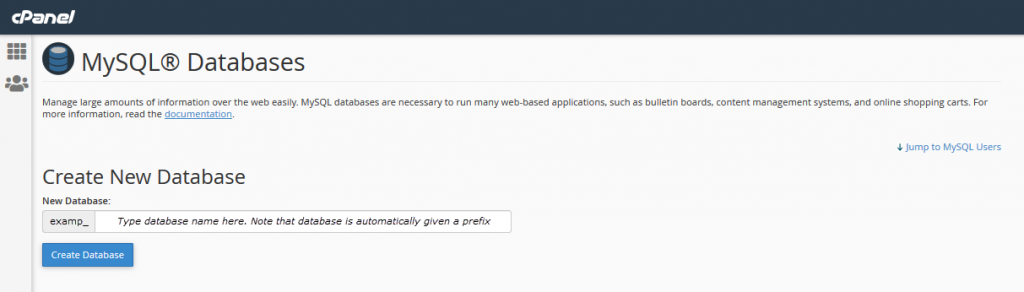
- Click on the MySQL Databases in the Database section and you will see the option to create a database. To learn more about creating a database, please see our article Creating a Database in cPanel.
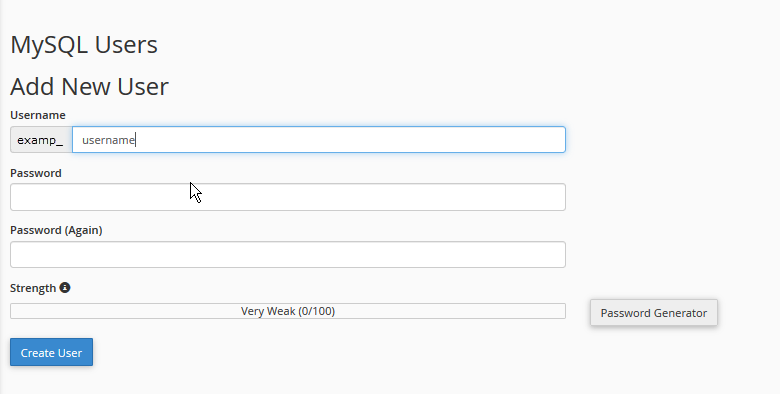
- Next, you will need to create a user for the database. Make sure to note the user name and password as you will need this information when you’re setting up WordPress. The article listed in the last step will show you how to create the database and user. You will be asked to assign privileges. Follow the article and assign all privileges for the user.
Finishing WordPress Installation
The final part of manually installing a WordPress site requires that you be able to access the WordPress files that you uploaded through an internet browser. This typically means that your domain name should be active if you’re using it when doing the install. We’re using “example.com” as part of this tutorial.
- Go to example.com (replacing example.com with your actual domain).
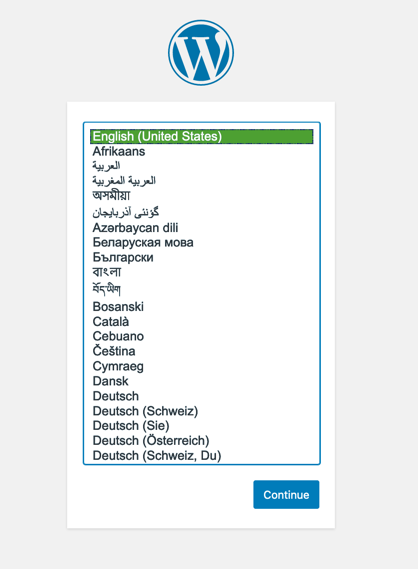
- If the installation has not completed then you should see a screen listing the languages. Select the language you wish to use and then click on Continue to proceed to the next screen.
- Fill in the Database Name, User Name, and Password that you wrote down from above. The database hostname is localhost by default. Make sure to fill in the table prefix if you specified one in the creation of your database. NOTE: As per the screenshot above, the Database Host is set to “localhost” by default. If this is not set as the database host, then type it in as you see it in the screenshot. The database hostname will only be different if you are connecting to a database that is not on the hosting server. By default, all FastyCloud's Hosting databases will be coming from the local server.

- Click Submit.
- You will then see a welcome page with information about the installation. you will need to fill in the Site Title, Username, Password, and your email address. You also have the option to elect to show your site in search engines or not.
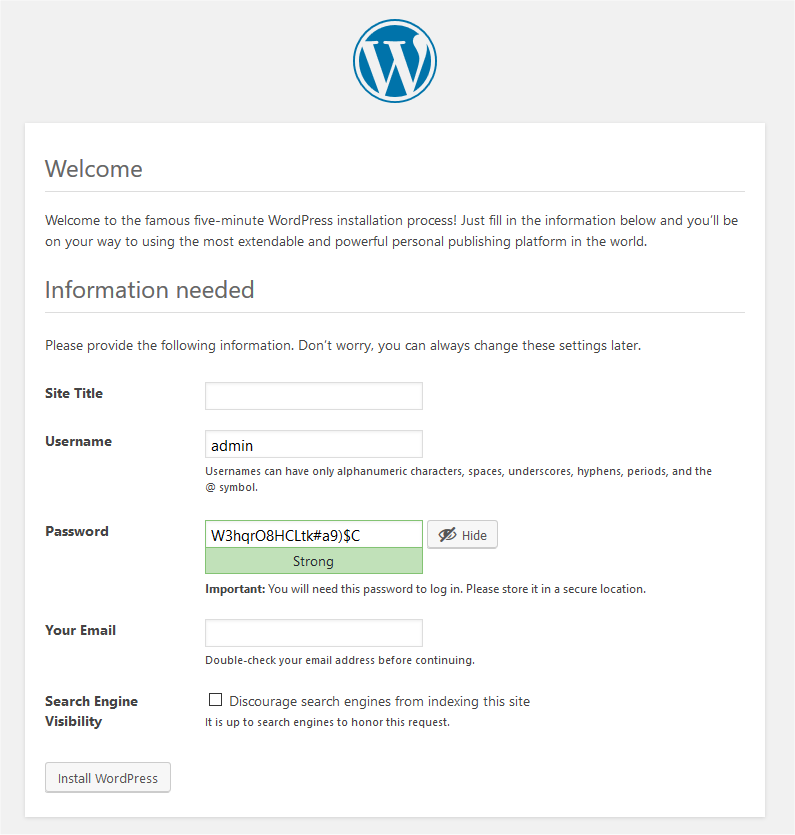
- Click on Install WordPress to finish up your manual installation.
If you need further assistance please feel free to ask a question on the support center.
Hosting with a VPS
When it comes to hosting WordPress, a shared hosting account can keep you covered. But if you are thinking about upgrading to a VPS, then click here to read about our VPS’s.
